
| pg. 1:25 Cassette deck |

Cassette insert
Insert the cassette with the open side to the left and with the A side upwards. The unit automatically loads the cassette, the radio is disconnected and the tape starts playing. A or B is displayed, indicating which side of the tape is being played.
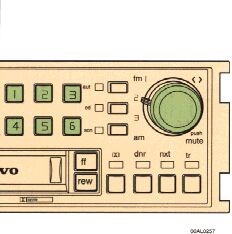
To re-enter Radio mode
There are three alternative ways to re-enter radio mode:
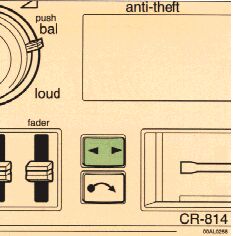
To re-enter Tape mode
If the tape player has been disconnected, but the cassette has not been ejected, the tape mode can be re-entered by pressing the
 button.
| pg. 1:26 Cassette deck (cont.) |
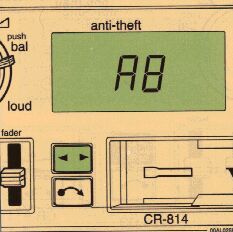
Tape direction (REV)

Press the button to play the other side of the tape. The side being played is displayed.
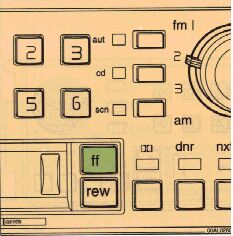
Fast winding
The tape is advanced with "ff" and rewound with "rew". The button flashes during fast winding. Stop fast winding by pushing the button once more.
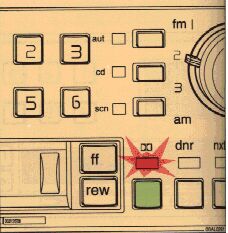
DOLBY B selector

This set has a DOLBY B noise reduction system for tape playback. Depress the DOLBY selector when playing a DOLBY pre-recorded tape. This function should not be engaged for non-DOLBY tapes. The indicator lamp is lit when this function is engaged.
| pg. 1:27 Cassette deck (cont.) |
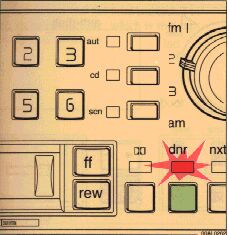
DNR selector
This is a noise reduction system for tape playback and radio reception. It is effective even if the tape has not previously been recorded with DNR. The indicator lamp is lit when this function is engaged.
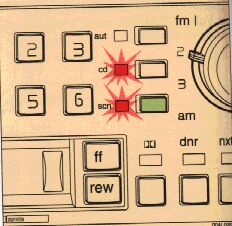
Scanning
Depress the "scn" button. The tape player scans the entire tape and stops at every song for 8 seconds. Scanning is then resumed. If you want to retain the song press the "scn" button once more within the 8 seconds.
There must be a pause of approx. 5 seconds between the songs for this function to operate.
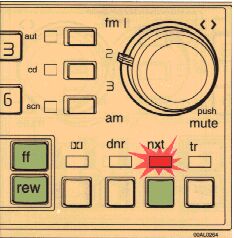
NXT (next) selector
Press "nxt" and the indicator lamp is lit. If you press "ff" the tape will be advanced to the next song. If you press "rew" the tape will be rewound to the beginning of the song you just listened to.
There must be a pause of approx. 5 seconds between the songs for this function to operate.
| pg. 1:28 Cassette deck (cont.) |
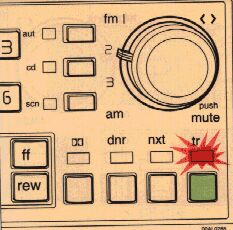
Tuner recall
If the "ff", "rew", "scn" or "nxt" buttons are used, the radio is normally muted. However, if you depress the "tr" button the radio is tuned in while the tape is being wound. The last station listened to is automatically tuned. Once the tape starts to play again, the radio cuts out. This function can be permanently engaged. The "tr" indicator is then lit.
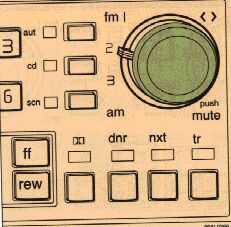
Pause
If you press the tuning knob the tape is stopped and the set is silent. To start the tape press the knob again. "PAU" is displayed.
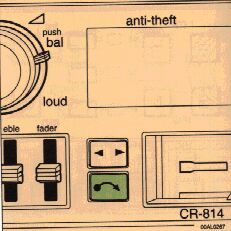
Cassette eject
When this button is depressed the tape stops and the cassette is ejected. The radio automatically cuts in.
Automatic Cleaning indicator
After approx. 10 - 15 hours operation, "CLN" is displayed, indicating that the tape heads should be cleaned!
We recommend the use of a Volvo Cleaning Cassette. Regular use maintains sound quality, cleans vital parts and prevents tape tangle.
| pg. 1:29 CD - Remote (accessory) |
The functions described below are only applicable if the set has been connected to the Volvo CD changer, which is sold separately as an accessory.
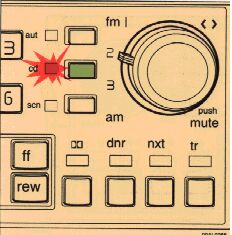
CD mode selector
Press "cd" to actuate the CD mode.
The indicator is lit.
The disc/track last listened to will
continue to play.
If the CD-changer cartridge is empty, "---" is
displayed.
If a selected disc does not exist, the disc no.
and "5--"is displayed, and the next disc is
automatically selected.
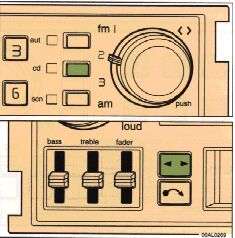
To re-enter radio mode
Press the "cd" button. The indicator light
turns off.
To re-enter tape mode

If a cassette is already inserted, the tape player will re-engage if the "rev" button is pressed
| pg. 1:30 CD - Remote (accessory) (cont.) |
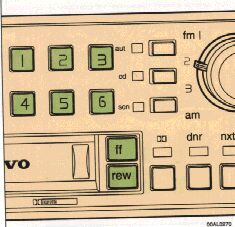
Disc no. selector
Depress one of the preset buttons ( 1-6) to select the disc number required. The selected disc no. and track no. is displayed.
Changing selected Disc no.
Press another preset button to change to another disc number. Press "ff" for forward selection or "rew" for backward selection. The chosen disc no. and track no. is displayed.

Track no. selector
Turn the outer knob to select the track number required.
Changing selected track no.
Turn the outer knob to change the selected track number or press "nxt" for forward selection.
The chosen disc no. and track no. is displayed.

Scanning
Depress the "scn" button. The set scans the entire disc and stops at every track for 8 seconds. Scanning is then resumed. If you want to retain the track press the "scn" button once more within the 8 seconds.
| pg. 1:31 CD - Remote (accessory) (cont.) |
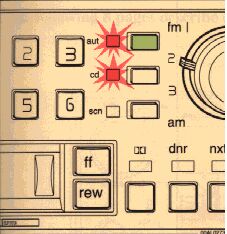
Random choice
Press the "aut" button to actuate the random mode. From a disc chosen at random 5 songs are played (also chosen at random). A new disc is then played in the same way. The indicator lamp is lit when this function is engaged
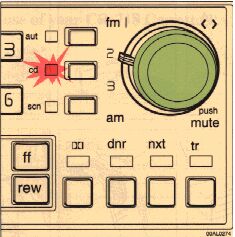
Pause
If you press the tuning knob the disc is stopped and the set is silent. To start the disc press the knob again. "PAU" is displayed.
| pg. 1:32 CD - Remote (certain models) |
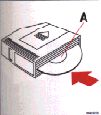
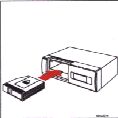
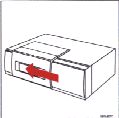
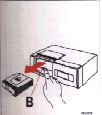
CD changer
The CD changer, which is available separately, is loaded with a cartridge containing 6 discs. Extra cartridges are available at your Volvo dealer.
Insert the discs into the cartridge, label (A) up.
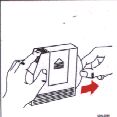
Insert the cartridge and close the cover.
Eject the cartridge by pressing the eject button (B).
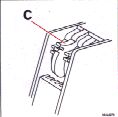
Remove the discs by depressing the lock tabs (C).
Operating tips: